Our Location
304 North Cardinal St.
Dorchester Center, MA 02124


Locked yourself out of your own WordPress admin because your rate limiting was too strict? It happens more than you’d think. Most site owners focus entirely on blocking bad traffic and forget to protect their own access first.
An IP whitelist flips that equation. Instead of only chasing attackers, you define exactly which IPs should always get in — no matter how strict everything else is. This guide covers how to whitelist your trusted IPs in BruteFort and keep the list useful without over-relying on it.
Quick Answer: Go to BruteFort → Settings → IP Settings, choose WhiteList from the dropdown, enter your IP, and click Add. Whitelisted IPs skip rate limiting, lockouts, and geo blocking entirely.
A whitelisted IP is exempt from every login protection rule — rate limiting, lockout after failed logins, geo blocking, and blacklist checks. If your IP is on the whitelist, BruteFort skips all its restrictions for you. You can mistype your password ten times without triggering a lockout. You can be in a geo-blocked country and still reach the login page.
That matters because tight security settings can occasionally catch legitimate users. Whitelist your own IP — and any trusted team members or clients — before enabling aggressive protection. Then you can set those protections as strict as you need, without fear of locking yourself out.
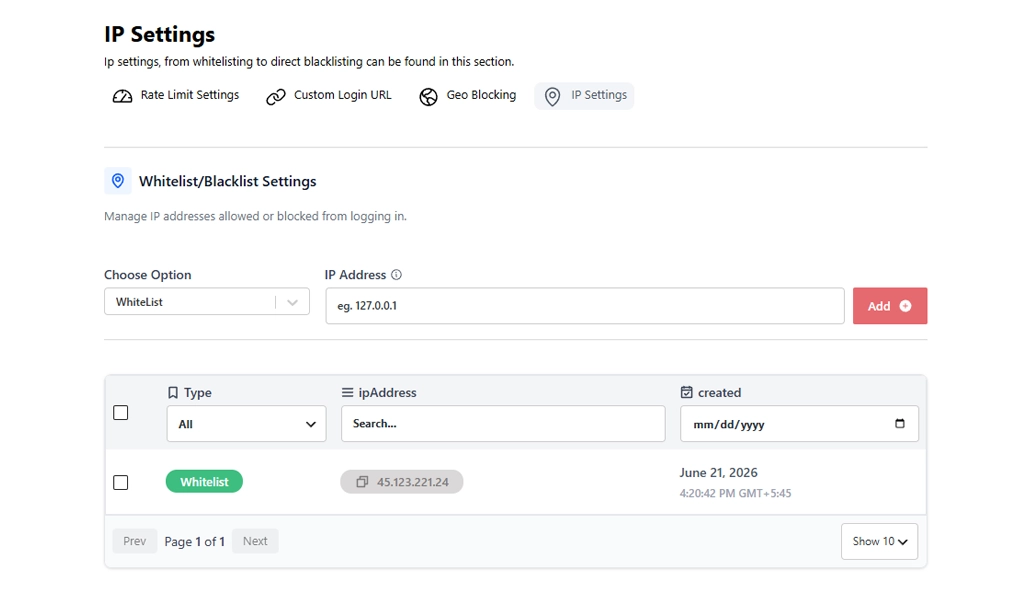
The whitelisted IP appears immediately in the table with its type, address, and the date added. Search and filter the table, and remove entries any time. Add one entry per address to cover every location you or your team regularly works from.
Pro Tip: To find your current IP, search “what is my IP” in any browser. The result is your public IP as seen by external servers — the same one BruteFort sees when you access your site.
Add to the whitelist: your home IP, your office IP, IPs for trusted agency clients who need admin access, and IPs of remote developers or editors who log in regularly. Travel often and need to log in from countries that may be geo-blocked? Whitelist your hotel or VPN IP, or plan to adjust your settings before you leave.
Don’t over-whitelist: the value of a whitelist comes from its selectivity. Whitelisting a wide range of IPs — or every IP a client’s ever used — dilutes the protection. Keep the list to IPs that need permanent, reliable access. For one-off access needs, temporarily adjusting your rate limiting threshold is cleaner than adding an IP you’ll forget to remove.
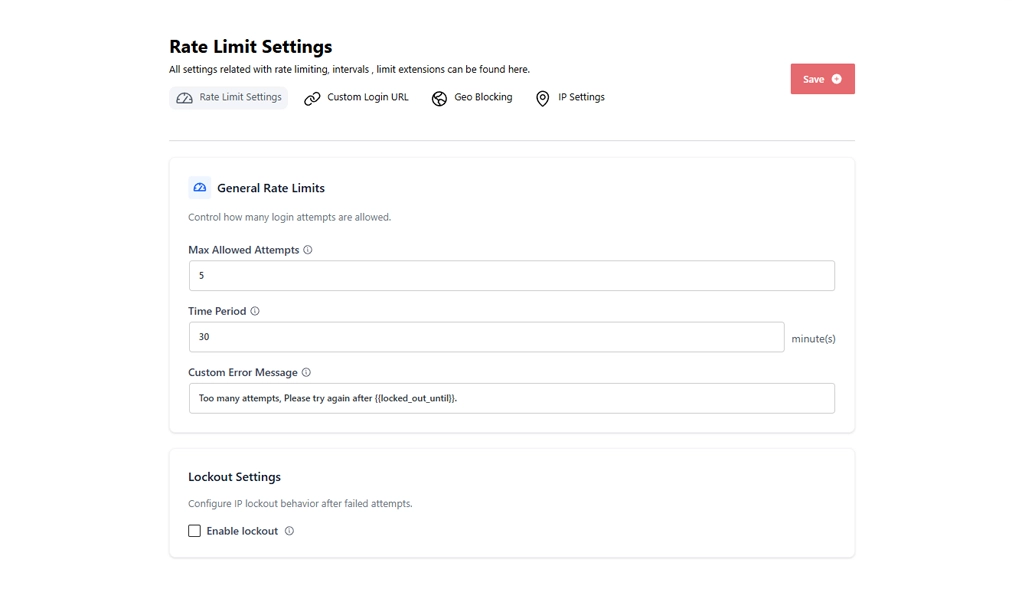
Most residential internet connections use dynamic IPs that change periodically. This is the most common complication with whitelisting. A few practical approaches:
Yes. A whitelisted IP bypasses every BruteFort restriction, including geo blocking. Traveling to a country your own geo blocking settings have blocked? Add your IP to the whitelist and log in without touching the geo blocking configuration. That’s the recommended approach for admins who travel to blocked regions, rather than disabling geo blocking entirely.
Yes — that’s the recommended order. Add your own IP to the whitelist first, then configure rate limiting and lockout settings. That way, even if you make a configuration mistake, or mistype your password while testing, you won’t accidentally lock yourself out of your own dashboard.
BruteFort’s IP Settings handles individual IP addresses rather than CIDR ranges. For whitelisting a range at the server level — an office network block, for example — use server firewall rules or .htaccess instead of the plugin. Within BruteFort, add each specific IP individually.
The IP Settings table clearly labels each entry’s type — Whitelist or Blacklist. Delete the entry and re-add it with the correct type. If you blacklisted your own IP and are now locked out, deactivate BruteFort temporarily via FTP by renaming its folder in /wp-content/plugins/. That restores login access while you fix the entry.
An IP whitelist is the foundation that makes aggressive login protection practical — set it up before enabling any other BruteFort protections. BruteFort manages whitelist and blacklist entries from the same IP Settings tab, alongside rate limiting, geo blocking, and custom login URL.
You might also like:

